The day-to-day process of using CycleTrak is easy: when you encounter a DaVinci instrument while assembling a tray you simply scan the instrument into CycleTrak to log the reprocessing cycle. But, there are a few things that need to be done beforehand to make all of this possible.
Step 1: Test your barcode scanner.
You will be using a barcode scanner to read the unique identifiers on the instruments that you are tracking. So, the first thing you want to do is to ensure that your scanner will work with CycleTrak and that it scans accurately.
The easiest way to accomplish this is to:
Login to CycleTrak as an Admin user; navigate to the Instruments Dashboard.
Plug your scanner into your computer (usually using a USB port).
Locate several (ie 3-5) data matrix barcodes for testing. These could be the labels that you’ll be attaching to the DaVinci instruments or any other barcodes that you have available.
Position your cursor in the search box on the Instrument Dashboard. (Note: don’t worry, you aren’t processing anything here; all you’re doing is using the search box on the Instrument Dashboard as a “test” to see if your scanner can communicate with CycleTrak). Scan one of the barcodes; the search box should fill with the results of the scan. Carefully compare the scanned results within the search box with the expected results. If they are the same you have a successful scan.
Repeat the scan-testing process several times (5-10) and carefully compare the scanned results to the expected results. (Note: re-scanning the same barcode several times is a valid test; you don’t have to use different barcodes)
You should experience a 100% successful scan rate with 5-10 scans. If you don’t experience 100% success, continue to test with another 5-10 scans. If you still aren’t experiencing 100% success after the second batch of 5-10 scans, contact us via the Customer Portal.
If the search box doesn’t fill with the results of the scan in #4, unplug the scanner from your computer; wait 15 seconds and then replug it into your computer. Re-try a scan. If the search box still doesn’t fill with the results of the scan contact us via the Customer Portal.
Step 2: Label your Instruments
Each DaVinci instrument in your fleet needs to have a barcode-readable unique identifier associated with it so CycleTrak can track the processing cycles at the instrument level. You should have received a supply of “peel and stick” labels that you will attach to each instrument in your fleet that you want to track with CycleTrak.
Attach the labels to your instruments as shown below:
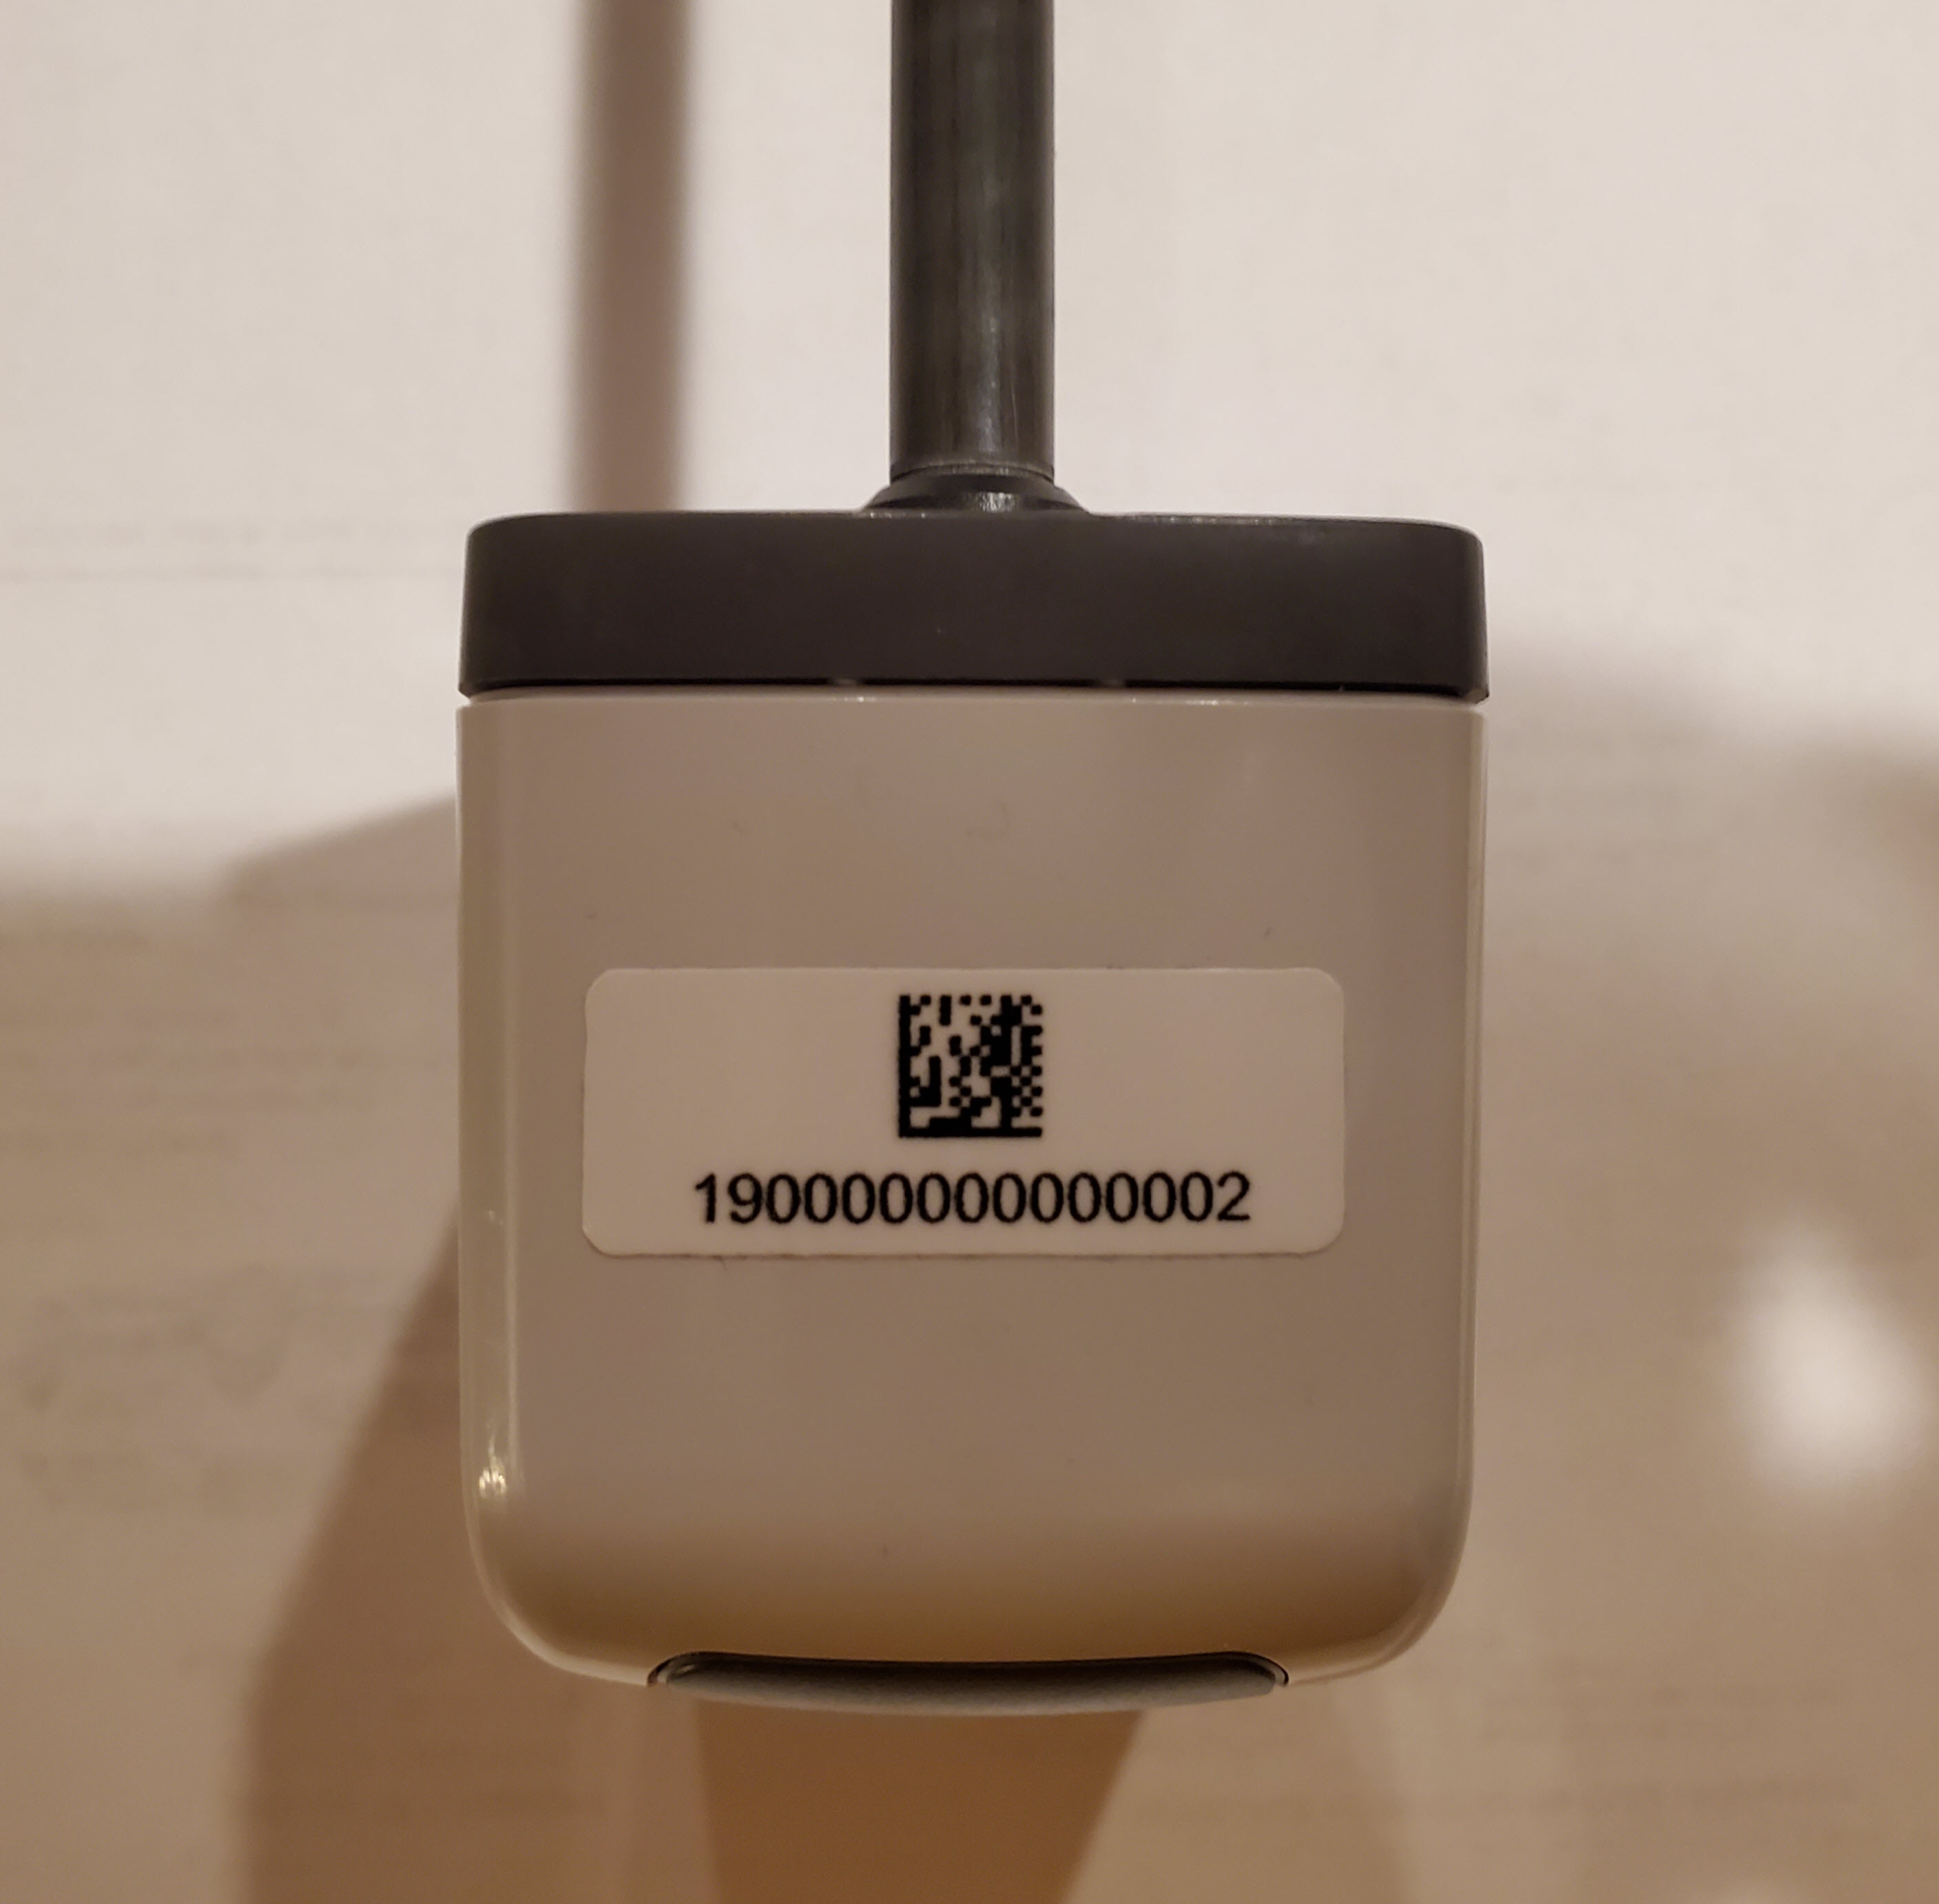
Note: A label must be attached to each instrument before it can be setup (commissioned) within CycleTrak.
Step 3: Commission your instruments
During your start-up phase you will need to commission your existing fleet of instruments (along with pre-existing cycles) before reprocessing cycles can be logged against them. Additionally, as you add new instruments to your fleet you will need to commission them before cycles can be logged against them.
After you have labeled some (or all) of your instruments you are ready to get them setup within CycleTrak. We call this process “commissioning”. An instrument must be commissioned within CycleTrak before a reprocessing cycle can be logged against it.
Refer to the article Commission a New Instrument for details on how to commission your instruments.
Step 4: Log reprocessing cycles
After you have (successfully) tested your scanner and labeled and commissioned your instruments you are ready to start logging and tracking reprocessing cycles within CycleTrak. Refer to the article Log a Reprocessing Cycle for details on how to log a reprocessing cycle.
|
Rate this Topic:
|
|||
|